The Obsidian Lady
Today the sun came out and all was set for the reveal. I need to mention that before I started working on the lady I was almost certain that she would need to be repainted from stem to stern. This is no longer the case. There are some areas that need to be redone, but as a whole the paint is in pretty good shape. Here are the pics as promised:
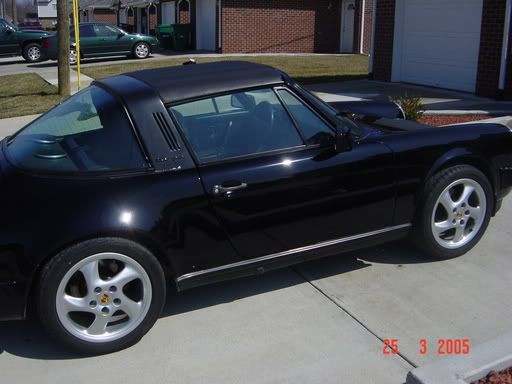
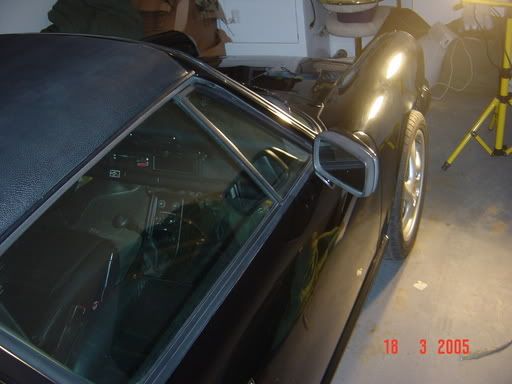
I got her almost back to the day she was born. I left some deep scratches because I did not have the heart buff deep enough to get them. However, I am the only one that will notice them.
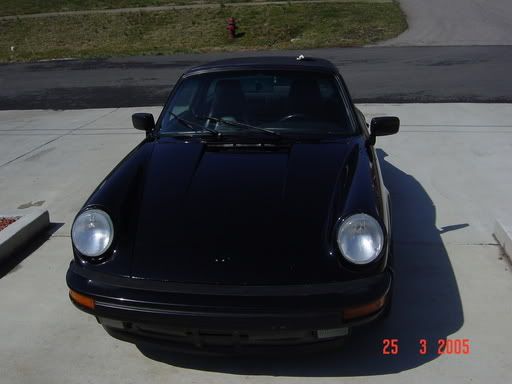
From the front now.
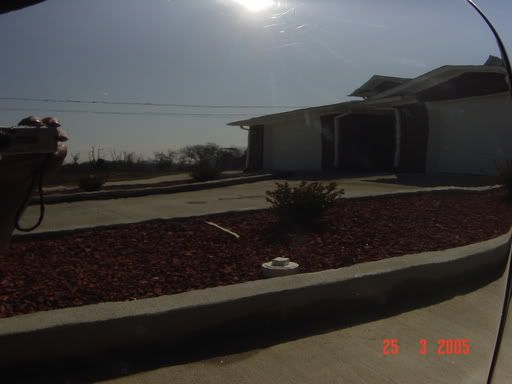
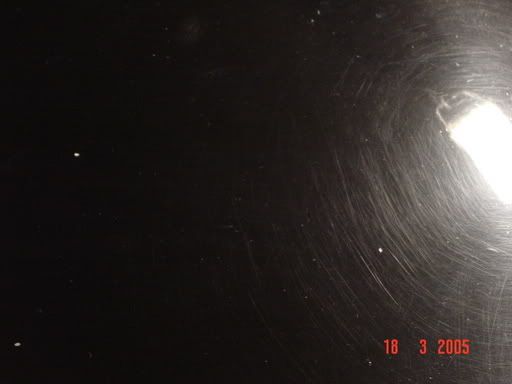
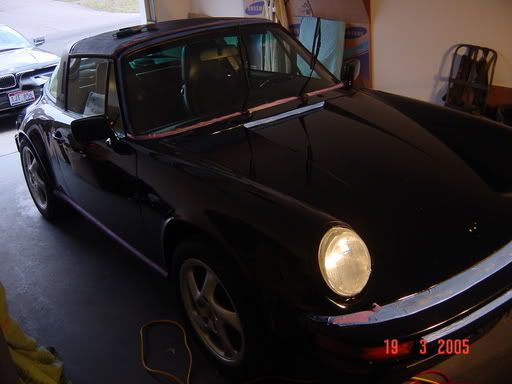
This is a random picture of my townhouse...off the passenger door. Notice the holograms near the sun that means I did not buff the wax out enough. Oh well.
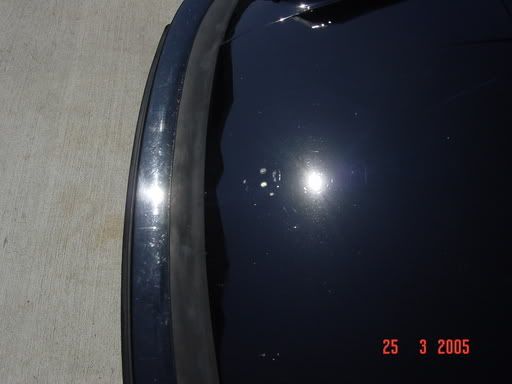
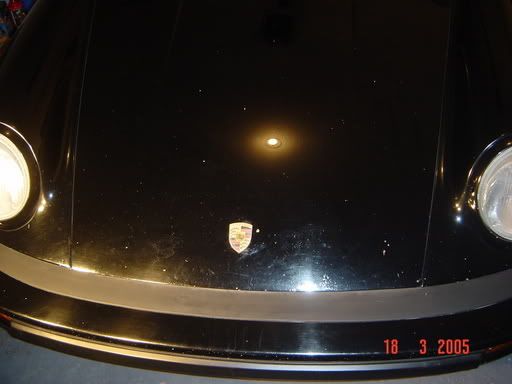
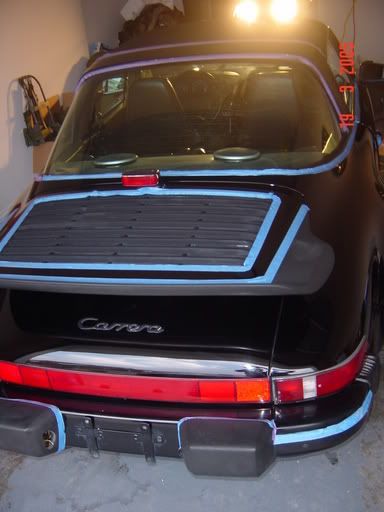
This is where the hood needs to be repainted. Also for comparison I did not touch the bumper...so you get a side by side of before and after. Also I debadged the car...the badge was broken anyway and it was scratching the paint (no gasket). I figure when I have the car sorted out to my satisfaction I put a new badge on it.
As for this installment I will not be doing anything on the car. I am taking the entire weekend off. I go to field next week so I need some relax time. Not to mention, I still do not have plates so I cannot move it, and the parts I ordered do not get here until next week.
My parents are coming next weekend, so the BMW will probably get more attention than the Porsche, because they are bringing my summer wheels for the Bimmer. However, they are also bringing the plates for the Porsche...so it may be a toss up. :) I registered it in SD because I want to keep residency in SD as long as possible and personalized plates are only $25.
Cost of this installment: $12. I put new wiper blades on.
I got her almost back to the day she was born. I left some deep scratches because I did not have the heart buff deep enough to get them. However, I am the only one that will notice them.
From the front now.
This is a random picture of my townhouse...off the passenger door. Notice the holograms near the sun that means I did not buff the wax out enough. Oh well.
This is where the hood needs to be repainted. Also for comparison I did not touch the bumper...so you get a side by side of before and after. Also I debadged the car...the badge was broken anyway and it was scratching the paint (no gasket). I figure when I have the car sorted out to my satisfaction I put a new badge on it.
As for this installment I will not be doing anything on the car. I am taking the entire weekend off. I go to field next week so I need some relax time. Not to mention, I still do not have plates so I cannot move it, and the parts I ordered do not get here until next week.
My parents are coming next weekend, so the BMW will probably get more attention than the Porsche, because they are bringing my summer wheels for the Bimmer. However, they are also bringing the plates for the Porsche...so it may be a toss up. :) I registered it in SD because I want to keep residency in SD as long as possible and personalized plates are only $25.
Cost of this installment: $12. I put new wiper blades on.
posted by Lycurgus at Friday, March 25, 2005
0 comments
![]()
![]()